Resistive Soil Moisture Sensor
The first sensor I wanted to evaluate measure moisture by measuring the resistance level of the soil, These style sensors are cheap but have limitations.
- Corrode over time due to electrolysis
- Mineral content affects the measurement
It was worth investigating this style of sensor due to their cheap cost and if the output range was sufficient to make the watering decision on water content.
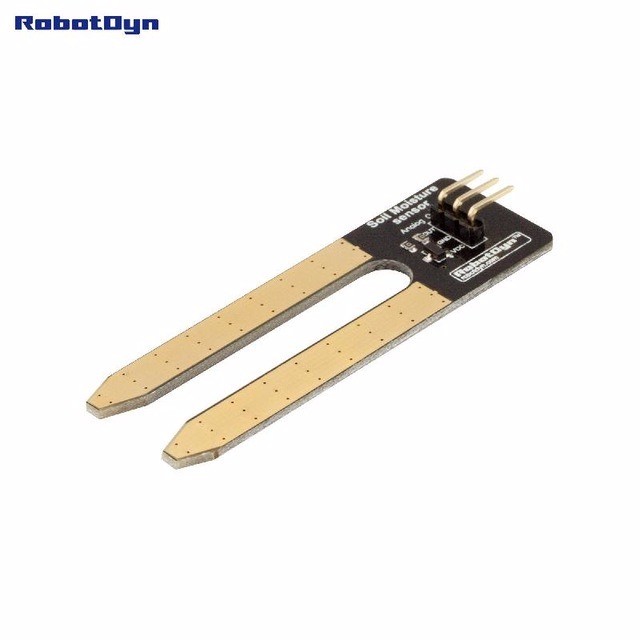
The Sensor
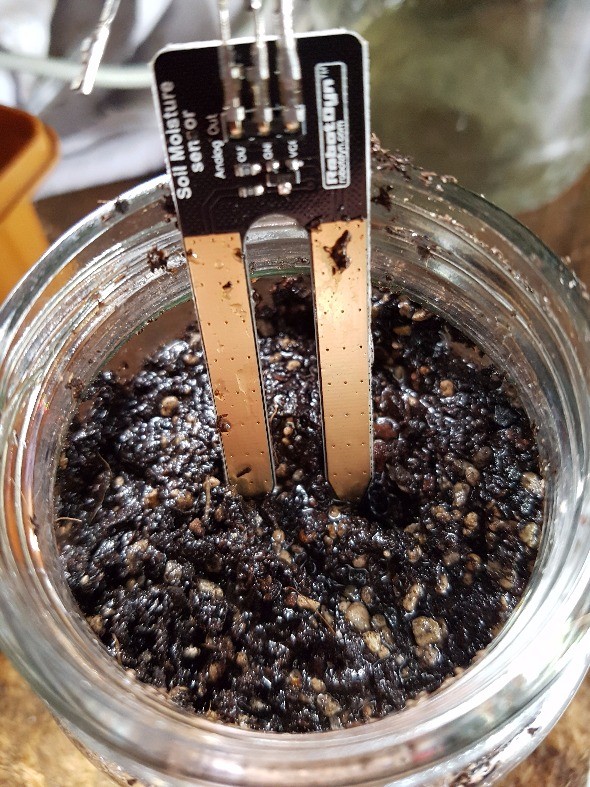
The sensor uses as a probe. To use the sensor, plug it into the ground and connect it to an analog input of a micro controller (The raspberry pi does not have analog inputs so you need to add a ADC like the MCP3008). The more moisture in the soil, the higher the output signal of the sensor.
- Output signal: analog
- Power: 3.3-5V
- Immersion gold cover

Connecting to the Raspberry Pi
With the sensor having an analog output and the Raspberry pi's lack of Analog inputs the solution is to implement a analog to digital converter, I already had a MCP3008 in the form of a Lots of Pots board from Modern Devices which includes a MCP3008 - 8-Channel 10-Bit ADC With SPI Interface as well as breaking out the GPIO pins for convenient access.
https://moderndevice.com/product/lots-of-pots-lop-board-for-raspberry-pi/
Connecting the sensor output to one of the ADC inputs which converts the received voltage to a value between 0 - 1023 (10bit number)
Storing the Sensor Data
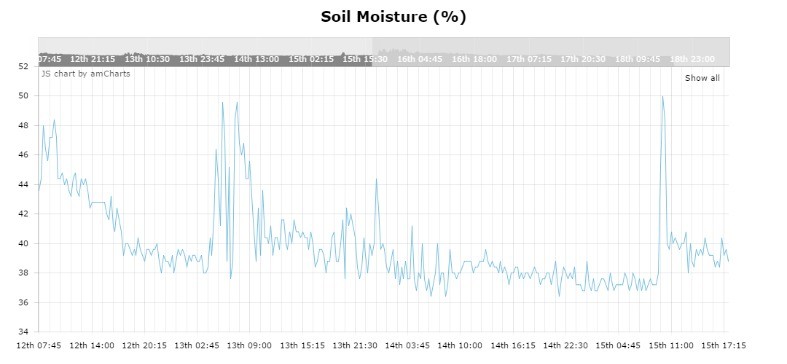
Having the sensor setup and working I stored the measured value in a MySQL database to evaluate the range from dry soil to wet soil. Below is a graph of the measured values converted to a percentage of the range observed.

The result
As you can see from the graph above the sensor is quite noisy and the limited range observed over time meant i could not make my watering decision based on its readings. It got worse if i added fertilizer to the garden as the addition of minerals shot the reading through the roof for a few days before stabilizing.
Other observations:
Testing the sensor in the bench with 3.3V generally got good readings between dry and wet soil in a jar, so if your not going long distance i.e. watering indoor house plants this sensor may be of use.

Extending the sensor out to the garden via a ~20 meter cat 5 cable I had to run Vref at the higher 5Volts, the voltage drop over the distance was minimal reading 4.77V at the sensor but the additional voltage was required to get the sensor to have a good range of values.
One last word on electrolysis - Make sure you run the supply voltage via a relay and only turn the sensor on while you want to take a reading. I was lazy and ran the sensor full time on 5V, as i thought i would have a week or so before I wired it through one of the spare relays I had available. Wrong it only lasted about 7 days before the anode had been eaten away and the sensor stopped working all together.
Lucky they are cheap ($0.59) and I had brought 4 so had spares.